
In this video tutorial, I will show you how to create a shark in a light bulb using GIMP layer masks.
In this tutorial you will learn how to:
- Download free stock images
- Add a guideline in GIMP
- Rotate an image in GIMP
- Create new layers
- Use the GIMP rectangle section tool
- Learn how to crop to a selection
- Rename layers for future reference
- Use the magic wand tool to quickly remove a background
- Use the paintbrush to ease specific content
- Zoom into images
- Import new images to layers
- Adding image alpha channel
- Create a layer mask / black full-transparency
- Adjust layer mask overlay using the move tool
- Use a paintbrush to edit content in the layer mask
- Import another image to a new layer
- Reduce opacity
- Resize an image using the scale tool
- Create a new layer mask
- Edit layer mask to add and remove content
- Add a drop shadow / Gaussian blur
- Merage image layers
- Duplicate layer to mirror effect
- Edit the image using the uniform transform tool
- Reduce the opacity of the mirror image
- Add a gradient background
- Add a glow effect using a Gaussian blur effect
- Export the final image in jpg file format
Tutorial summary: We will use various free images, GIMP layers and GIMP layer masks to create artwork.
Download image: https://pixabay.com/en/shark-sea-ocean-blue-predator-2102330/
Download image: https://pixabay.com/en/wave-water-surf-ocean-sea-spray-3473335/
Download image: https://pixabay.com/en/lightbulb-bulb-light-idea-energy-1875255/
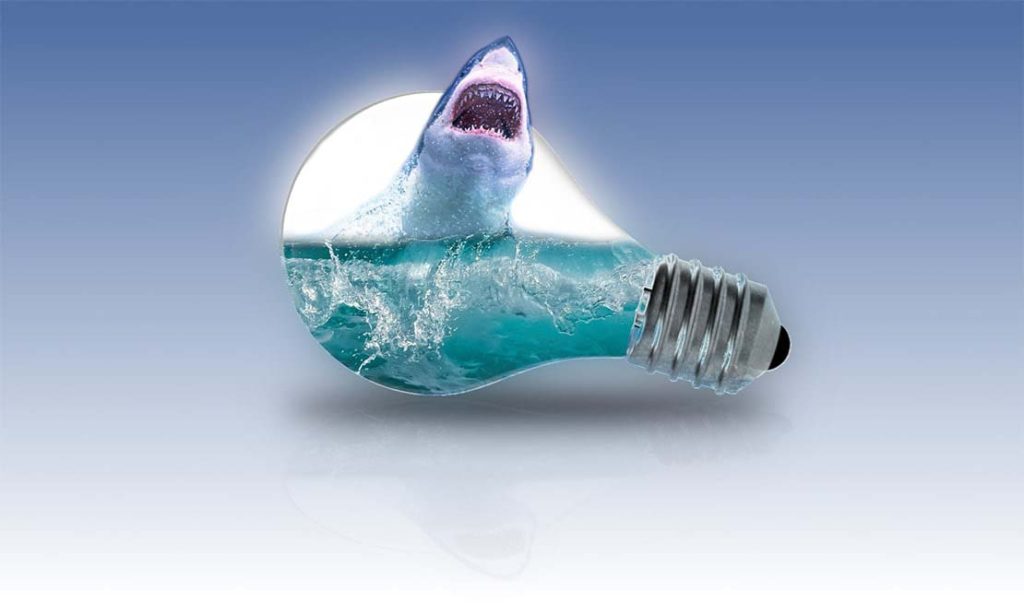
Example Gimp Layer Mask Artwork
Video Tutorial By Pankaj Shah | May 19th, 2020 | Graphic Designers