
In the digital age, launching an e-commerce website is one of the most effective ways to grow your business. With tools like WooCommerce and WordPress, building an online store has never been easier. WooCommerce is a powerful and user-friendly e-commerce plugin for WordPress that allows you to create a fully functional online store without needing advanced coding skills.
This step-by-step guide will walk you through everything you need to know to build an e-commerce website using WooCommerce in WordPress.
Why Use WooCommerce?
Before we dive into the tutorial, let’s explore why WooCommerce is the leading choice for creating e-commerce websites:
- Free and Open-Source: WooCommerce is free to download and use, with no hidden charges.
- Highly Customisable: It offers a wide range of extensions and themes to customise your store.
- Scalability: WooCommerce can handle everything from small shops to large e-commerce businesses.
- User-Friendly: It integrates seamlessly with WordPress, making it easy for beginners to manage.
- Global Community Support: With millions of users worldwide, there are plenty of resources, forums, and developers available for help.
Step 1: Choose a Domain and Hosting Provider
1.1 Select a Domain Name
Your domain name is your website’s address (e.g., www.yourstore.com). Choose a name that is:
- Relevant to your business.
- Easy to remember and spell.
- Preferably with a .com extension for credibility.
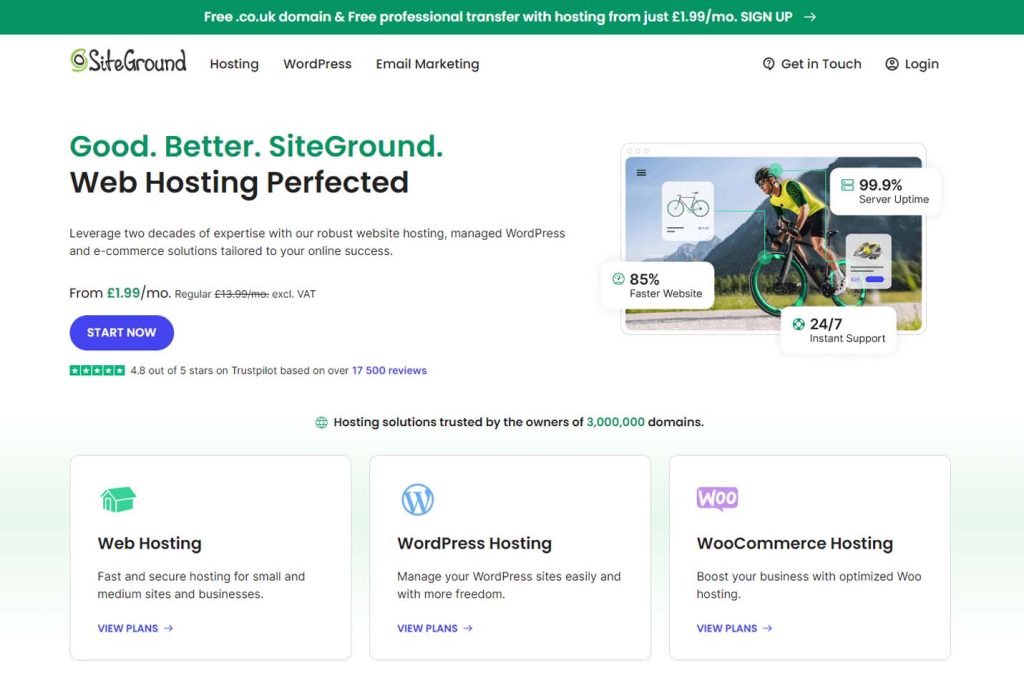
1.2 Pick a Reliable Hosting Provider
Since WooCommerce requires a WordPress website, you’ll need a hosting provider that supports WordPress. Look for features like high performance, security, and scalability.
Recommended Hosting Providers:
- SiteGround: Optimised for WooCommerce with excellent performance.
- Bluehost: Affordable and officially recommended by WordPress.
- Kinsta: Managed WordPress hosting with superior speed and reliability.
Once you’ve chosen a provider, register your domain and set up hosting.
Step 2: Install WordPress
2.1 Install WordPress on Your Hosting
Most hosting providers offer a one-click WordPress installation. Follow these steps:
- Log in to your hosting dashboard.
- Locate the WordPress installer.
- Complete the setup by entering your website name, admin username, and password.
2.2 Access Your WordPress Dashboard
Once installed, log in to your WordPress dashboard by visiting www.yourstore.com/wp-admin.

Step 3: Install and Set Up WooCommerce
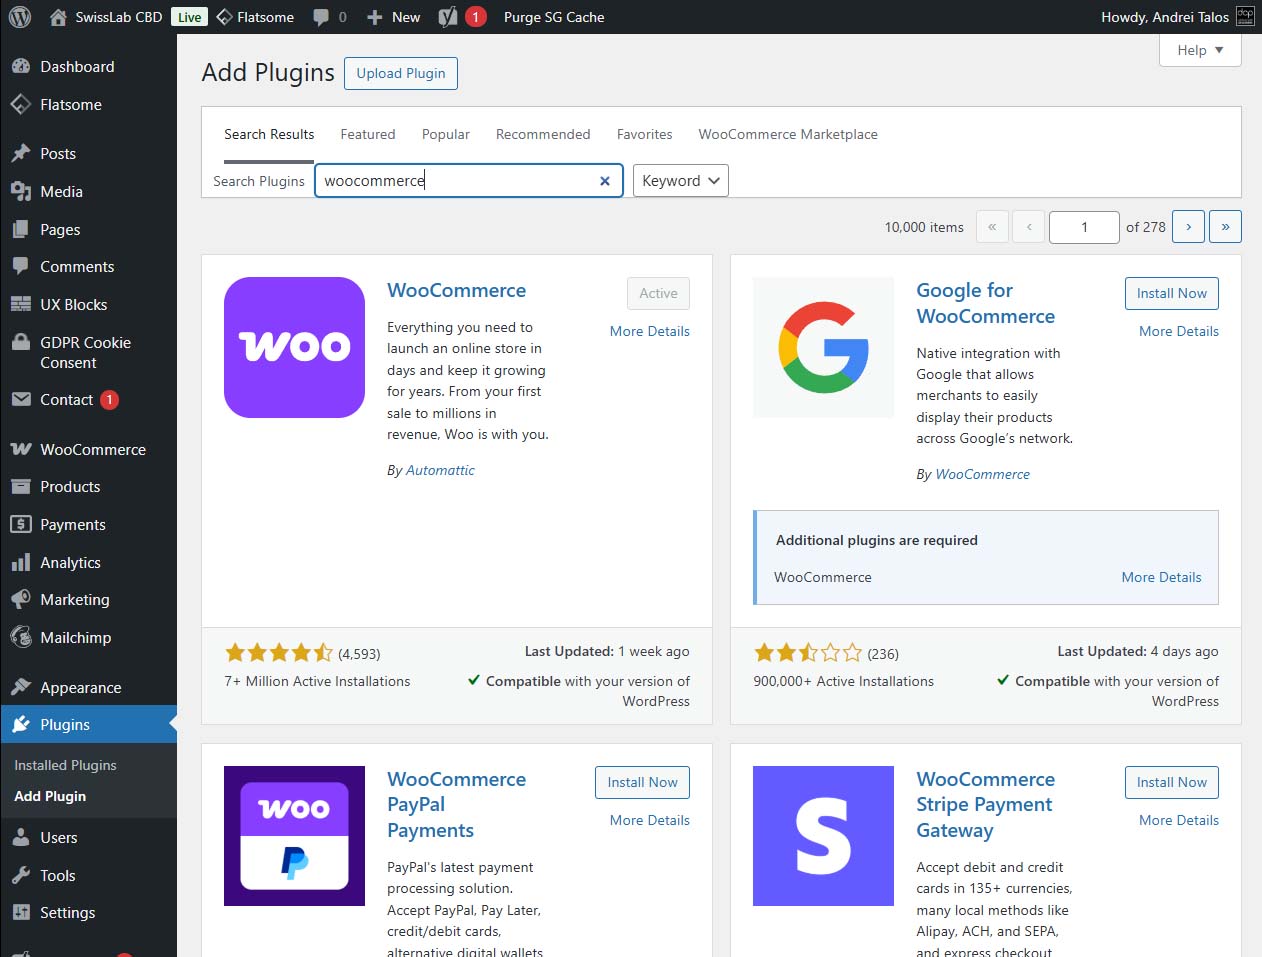
3.1 Install the WooCommerce Plugin
- In your WordPress dashboard, go to Plugins > Add New.
- Search for “WooCommerce” in the search bar.
- Click Install Now and then Activate.
3.2 Follow the Setup Wizard
After activation, WooCommerce will launch a setup wizard. Complete the following steps:
- Store Details: Enter your store address, currency, and business type.
- Industry: Select the industry that best describes your store.
- Product Types: Choose what you’ll be selling (physical products, digital downloads, etc.).
- Business Details: Provide additional details about your business size and offerings.
- Themes and Extensions: Choose a theme (optional) and recommended plugins.
Pro Tip: You can skip certain steps and configure them later in the WooCommerce settings.
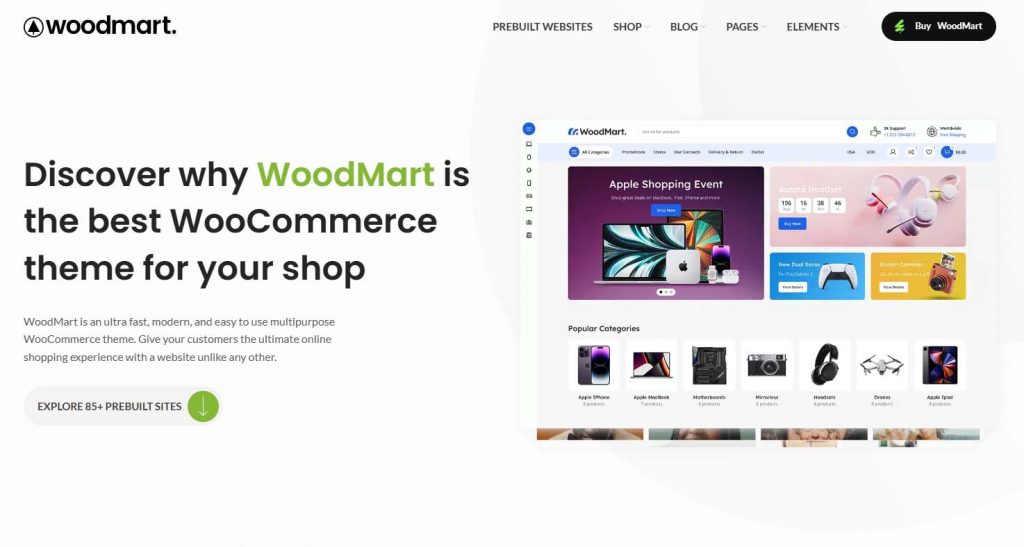
Step 4: Choose and Customise a WordPress Theme
Your theme determines the design and layout of your e-commerce website. WooCommerce is compatible with most WordPress themes, but some are specifically optimised for online stores.
4.1 Recommended WooCommerce Themes
4.2 Install and Activate Your Theme
- Go to Appearance > Themes in your dashboard.
- Click Add New and search for your chosen theme.
- Click Install and Activate.
4.3 Customise Your Theme
- Go to Appearance > Customize.
- Adjust settings for the homepage, colors, typography, and layouts.
- Add your store logo and favicon under the Site Identity section.
Step 5: Add Products to Your Store
5.1 Create Your First Product
- Go to Products > Add New.
- Enter the following details:
- Product Name: The title of your product.
- Description: A detailed overview of the product.
- Product Categories: Assign the product to a category (e.g., Clothing, Accessories).
- Product Image: Upload a high-quality image.
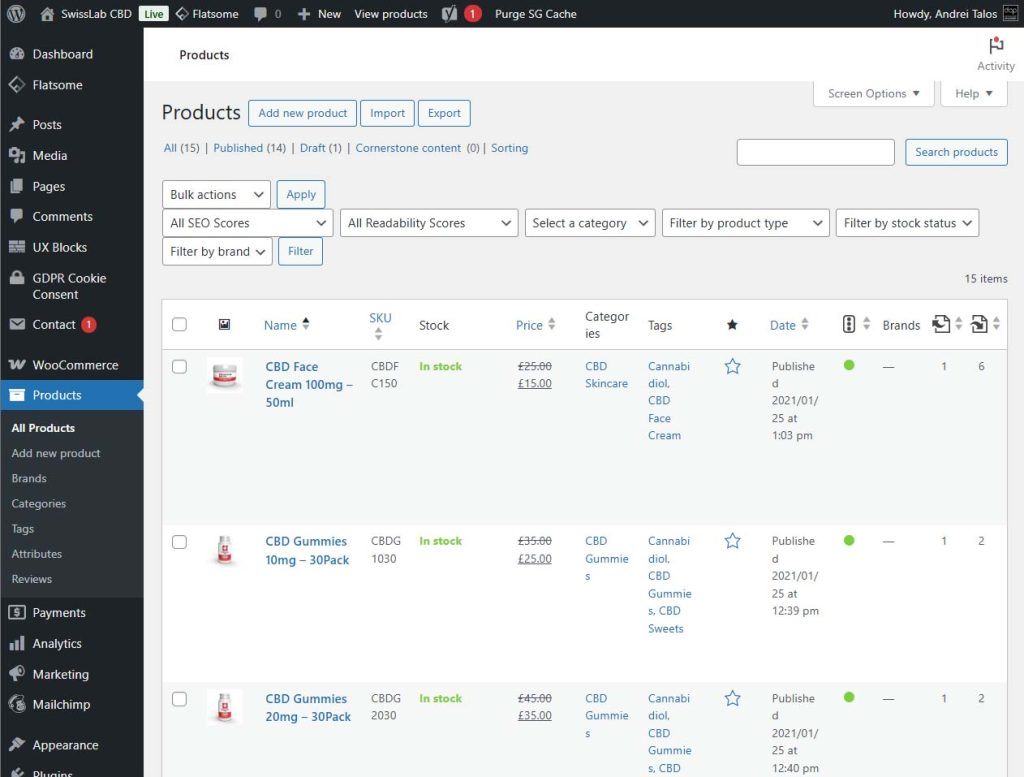
5.2 Set Pricing and Inventory
- Regular Price: Enter the product’s price.
- Sale Price: If applicable, set a discounted price.
- Inventory: Enable stock management and enter stock quantity.
5.3 Configure Product Data
WooCommerce supports various product types:
- Simple Product: A single item (e.g., a T-shirt).
- Variable Product: Items with variations (e.g., different sizes or colors).
- Grouped Product: A collection of related products sold together.
Select the product type and fill out the required fields.
5.4 Publish Your Product
Once you’ve added all details, click Publish to make the product live.
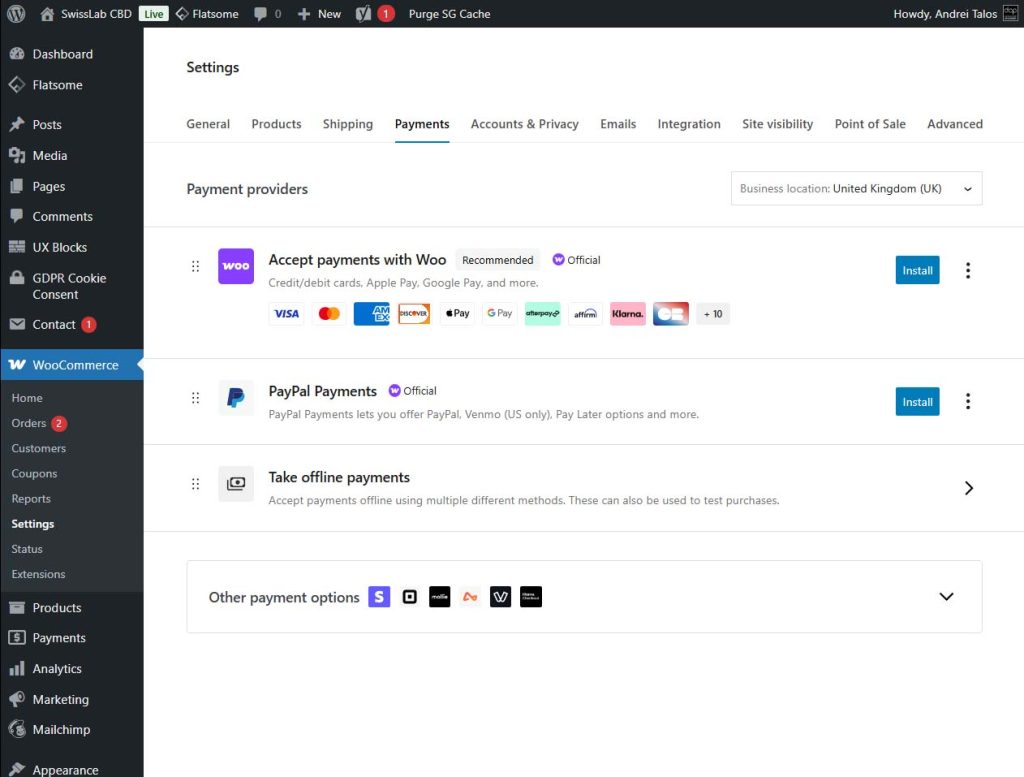
Step 6: Configure WooCommerce Settings
6.1 Payment Gateways
WooCommerce supports multiple payment methods. Configure these under WooCommerce > Settings > Payments:
- PayPal: One of the most widely used gateways.
- Stripe: Ideal for credit card payments.
- Cash on Delivery: Useful for local businesses.
Enable your desired payment methods and follow the setup instructions.
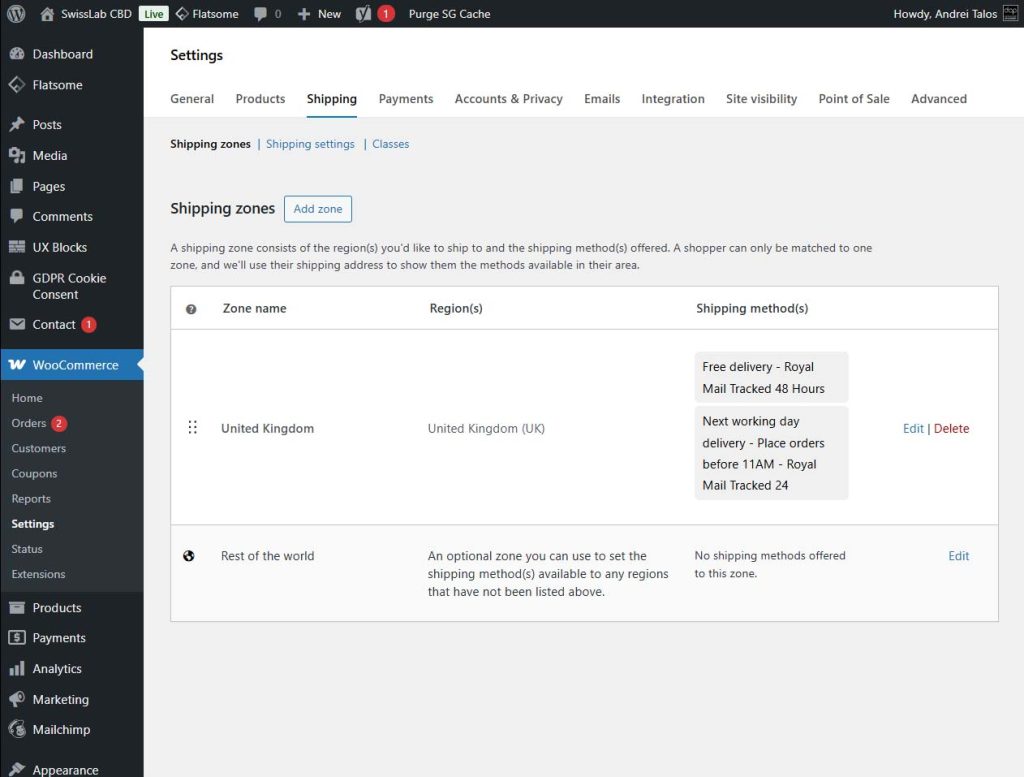
6.2 Shipping Settings
Go to WooCommerce > Settings > Shipping to set up:
- Shipping Zones: Define specific regions where you ship.
- Shipping Methods: Offer flat-rate shipping, free shipping, or local pickup.
- Shipping Classes: Group similar products to apply specific shipping rates.
6.3 Taxes
Enable and configure taxes under WooCommerce > Settings > Tax. WooCommerce can calculate tax rates automatically based on your store’s location.
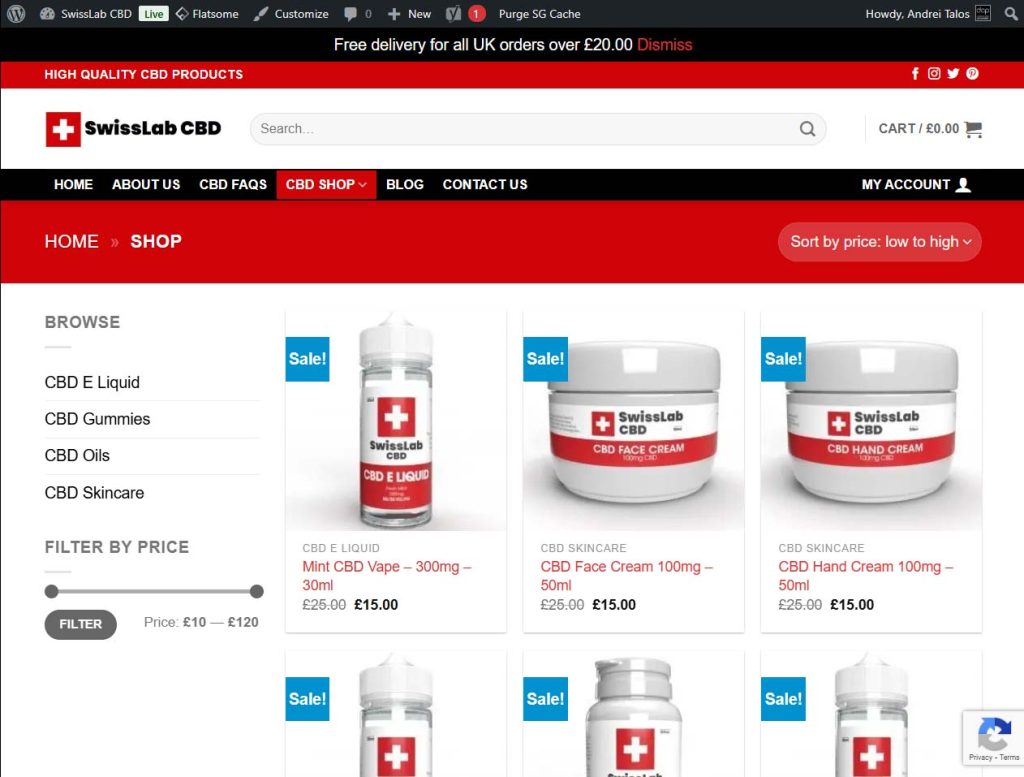
Step 7: Create Essential Pages
WooCommerce automatically creates important pages during setup, but you may want to add more custom pages for your store.
7.1 Review Default Pages
- Shop Page: Displays all products.
- Cart Page: Allows customers to review their cart.
- Checkout Page: Facilitates the payment process.
- My Account Page: A user dashboard for customer accounts.
7.2 Add Custom Pages
- About Us: Share your brand story.
- Contact Us: Provide a contact form, email, and phone number.
To create a new page:
- Go to Pages > Add New.
- Enter the page title and content.
- Publish the page.
Step 8: Optimise Your Store for SEO
SEO (Search Engine Optimisation) helps drive organic traffic to your store.
8.1 Install an SEO Plugin

8.2 Use Keywords Strategically
Include relevant keywords in product titles, descriptions, and meta tags.
8.3 Optimise Images
Compress product images using plugins like Smush or ShortPixel.
Step 9: Enhance Website Performance
A fast-loading website is crucial for user experience and SEO.
9.1 Install a Caching Plugin
Use NitroPack or W3 Total Cache to enable caching and speed up your site.
9.2 Use a Content Delivery Network (CDN)
Services like Cloudflare reduce latency by serving content from servers closer to your visitors.
9.3 Minimise Plugins
Only install necessary plugins to reduce bloat and improve speed.
Step 10: Test and Launch Your Store
10.1 Test Your Store
- Functionality: Test all product pages, cart, checkout, and payment processes.
- Responsiveness: Ensure the website looks great on mobile, tablet, and desktop devices.
- Load Time: Use tools like GTmetrix or Google PageSpeed Insights to check speed.
10.2 Launch Your Store
Once satisfied, promote your store via social media, email marketing, and advertising.
Advanced Tips to Grow Your WooCommerce Store
1. Integrate Marketing Tools
- Use email marketing plugins like Mailchimp to send newsletters.
- Add social media sharing buttons to product pages.
2. Upsell and Cross-Sell
Use WooCommerce to suggest related or higher-value products on product and cart pages.
3. Track Analytics
Install Google Analytics and WooCommerce analytics tools to monitor sales and user behaviour.
As your business scales, you may outgrow WooCommerce capabilities. Migrating to an advanced platform such as Magento, Adobe Commerce, Shopify, or BigCommerce with the help of an experienced ecommerce development company ensures data integrity and zero downtime during the transition.
Conclusion
Building an ecommerce website with WooCommerce in WordPress is a straightforward and rewarding process. By following this guide, you can create a professional online store that is fully customised, functional, and ready to serve your customers.
Whether you’re a small business owner or a budding entrepreneur, WooCommerce gives you the tools and flexibility to bring your vision to life. Start your journey today, and watch your online business grow!
Need help building a professional WooCommerce shop? Contact DCP Web Designers today for a free quote.